
Apple has announced the next version of its Mac operating system, High Sierra, as it aims to make your Mac more reliable, capable, and responsive while laying the foundation for future innovations in the worlds of VR (virtual reality) and AR (augmented reality).
So, I’m not going to discuss anymore regarding Apple new release “macOS High Sierra” instead; I’m gonna talk about installing macOS High Sierra 10.13 on VirtualBox on Windows operating system.
Steps to Install macOS High Sierra on VirtualBox on Windows
Note: Since Apple hasn’t released the final version of macOS High Sierra 10.13 so it the beta version. Also, the files above is beta, and when Apple released the final version of macOS 10.13, then you can find and use the final version from this guide.
Firstly, You need to download the following materials.
- Download VirtualBox 5.1.6
- Download macOS High Sierra 10.13 Beta(1 Part)
- Download macOS High Sierra 10.13 Beta (8 Parts)
- Download VirtualBox Code
- Download VirtualBox Code “New”
Step 1. Extract macOS High Sierra Image File
Once you downloaded the macOS High Sierra image file then, you must extract it via WinRAR or 7zip. To extract the file, simply right-click on file then choose “Extract Here.” It’ll take some minutes to extract so wait for a moment.

Extract macOS High Sierra VM File
Step 2. Install VirtualBox on Your PC
Download VirtualBox from the link above. Once you have downloaded the VirtualBox, then Install it on your Windows PC. To install VirtualBox, just click on the setup then hit “Next” and “Next.” Finally, click “Finished.”
Step 3. Create New Virtual Machine
#1. Now, you have to create a new Virtual Machine. Open the VirtualBox then tap on “New” at the upper left-hand side. Name the Virtual Machine “macOS High Sierra”. Choose the type “Mac OS X” and version to “Mac OS X 10.11 El Capitan (64-bit)” or “Mac OS X (64-bit)” then hit the “Next” button.

Create a New Virtual Machine
#2. Now, you’ll be prompted to select memory size for VM. Choose at least 4096 MB (4 GB) of RAM size for the Virtual Machine.
#3. If you wish, you can add a virtual hard disk to the new machine. You can either create a new hard drive file or select one from the last or another location using the folder icon. Here, you should choose the last option “Use an existing virtual hard disk file.“. Select the file and click “Create“.

Choose Memory Size – Select Hard Disk type
Step 4. Edit the New Virtual Machine
#1. Open the VirtualBox then tap on “Settings“. In the “General Tab“, put everything to the default.
Go to the next option “System“. You will see three main tabs. Click on the first tab “Motherboard“. Uncheck “Floppy” drive and set the chipset to “ICH9“.
Go to the next option “System“. You will see three main tabs. Click on the first tab “Motherboard“. Uncheck “Floppy” drive and set the chipset to “ICH9“.

Uncheck “Floppy” drive
#2. Choose two core processors or more than two.

Select Processor amount
#3. Navigate to “Display option” then put the video memory to 128 MB.

Choose Video Memory Size
#4. Now, navigate to “Network” tab then “Enable Network Adapter”. And choose the adapter type “Intel PRO/1000 MT Server (82545EM)”.

Enable Network Adapter
Step 5. Add VirtualBox Code to the CMD
#1. Before adding the code, you’ve to edit the code first. Open the VirtualBox code then replace the“Virtual Machine Name”. Get help from the screenshot down below.

Edit Virtual Machine Name
#2. Now, run CMD as administrator. Open VBox code and Add the code to the CMD one by one.
Remember: Don’t forget to Exit VirtualBox Before adding to the code to CMD otherwise, it will not work.

Copy and Paste the Code to CMD
Step 6. Play the Virtual Machine
#1. In this step, you have to open VirtualBox then “Start” or run the macOS High Sierra VM.

Start Virtual Machine
#2. After running the macOS High Sierra VM, you will see some white code with a black screen. You’re not going to do anything in this step. Just wait for a moment, and macOS High Sierra welcome page will appear.
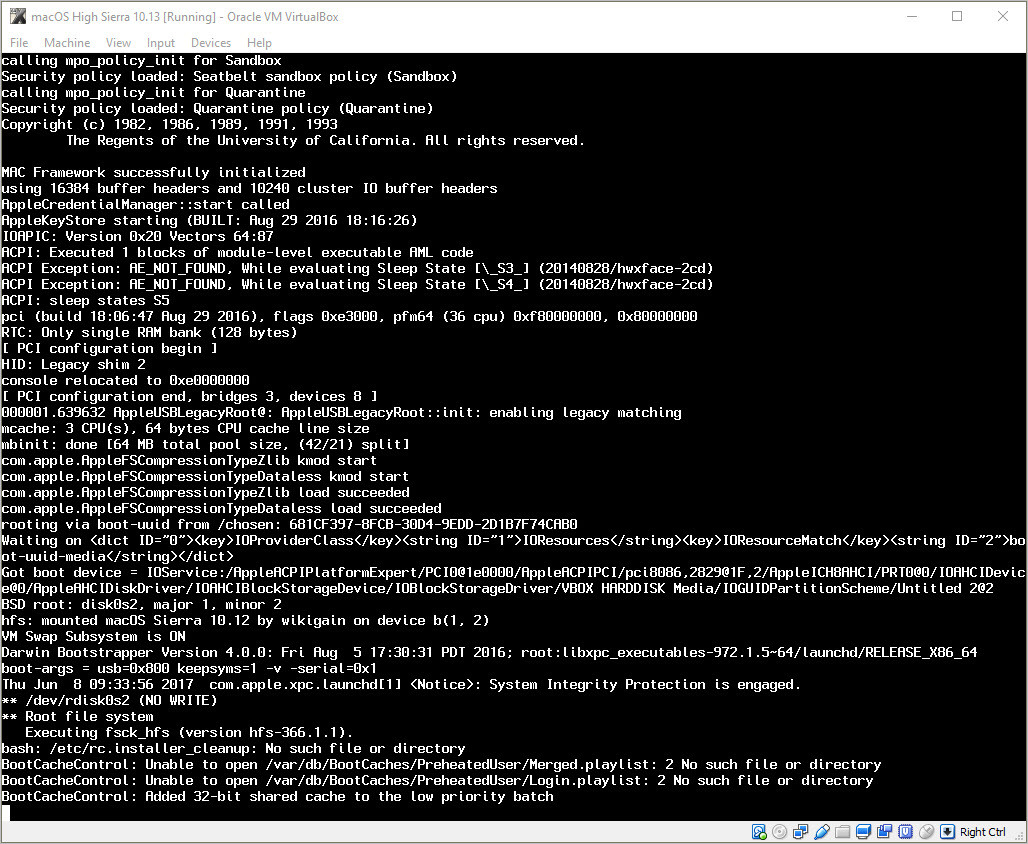
Loading Some Code Before Installation
Step 7. Perform a Clean Installation of macOS High Sierra
Now while installing macOS High Sierra, Sierra or El Capitan on VMware or VirtualBox then we don’t need to install that on separate disk because while editing the VM we choose the virtual disk type SATA, and this is the one and only way, for now, to install macOS High Sierra on VirtualBox. So that’s why now in the very next step we have to perform a clean installation and to set up macOS High Sierra.
#1. Choose your Country and click on Continue.

Select Language
#2. Pick a keyboard Layout and click on Continue.

Select Keyboard
#3. Now choose your method to transfer information to this Mac and click on Continue.

Don’t Transfer any Information Now
#4. In this step, you have to Sign in with your Apple ID. If you have one, then create a free Apple ID, by the article, how to create an Apple ID on iPhone, iPad or iPod Touch. If you don’t want to sign in with Apple ID, then Choose Don’t Sign in and Click on Continue.
Note: If you are unable to sign in into your Apple ID then make sure the Virtual Machine network adapter is enabled and set to NAT. If the problem still exists, then you need to select Don’t sign in.

Sign in with Your Apple ID
#5. Agree to the Terms and Conditions.

Terms and Conditions
#6. Fill out the Full name, Account name, Password, Hint and check the box of Set time zone based on Current location. Then finally click on Continue to create your user account for macOS High Sierra.

Create a Computer Account
#7. Select the options for Express Set Up and click on Continue.

Express Set Up
#8. Wait a little while to Setting Up Your Mac. Then it will run on the desktop of macOS High Sierra.

Setting Up You Mac
Finally, you should see the macOS High Sierra Wallpaper, and it successfully installs on VirtualBox.

macOS High Sierra Successfully installed on VirtualBox
Comments
Post a Comment